Hello, all! I've been slacking on the posts as of late, but it's because I've been so busy with cakes! This time of year gets super busy with birthday cakes, especially (my birthday is this month, too!) and I've decided to participate in this year's Threadcakes contest! I'm still working on getting my photos in order before the deadline, so more on that later!
Yesterday was my bestest friend, Ashley's, birthday! Since I was short on time, I couldn't make her a Threadcake. But I
did want to make her something awesome. We had visited a local bakery recently, and we both fell in love with an amazing harlequin design cake, so I decided to make a cake inspired by it! Luckily, I had recently acquired a set of diamond cutters...
I started with 6" and 8" yellow cakes that I torted and filled with raspberry and chocolate mousse. I placed the tiers in the fridge with a crumb coat to set overnight (that mousse can get tricky if not properly chilled). I iced the bottom tier in white vanilla buttercream, then rolled out some black fondant.
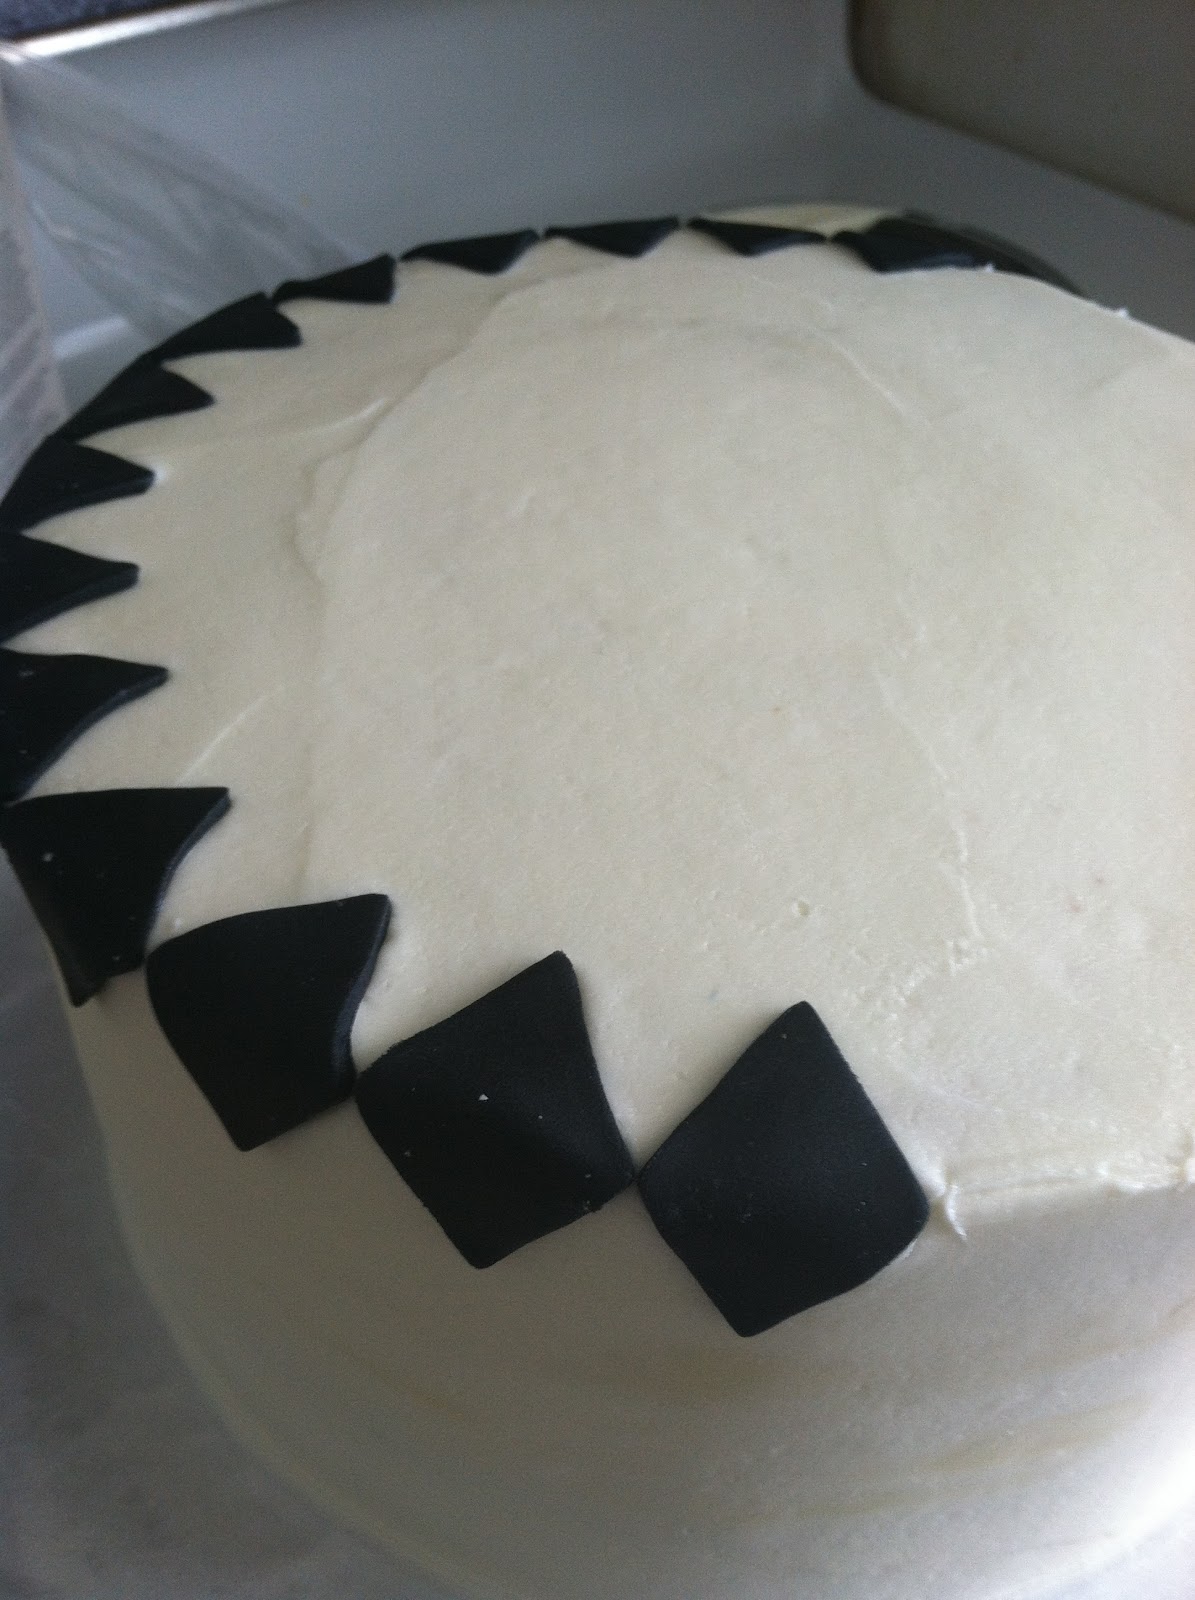
From what I've learned in the cake biz, the measurement of the outside of a cake is equal to 3 times the diameter of the cake. So for the 8" cake, I had 24" of surface to work with. So to make the pattern even, I used the diamond cutter that was 1" across and placed 24 of them across the edge.
Next, I worked downard two more rows.
Then came the top. I started with the 1" diamonds, and that was
not working, so I moved down to the next size cutter, which was 3/4." That fit together and worked! I only had to do one row, since I was going to stack the other tier anyway.
I iced the second tier in light purple then added black scrollwork.
I topped it off with some dark red roses with black leaves as well as pearl borders. To make the harlequin design look more uniform, I added a dot of buttercream to each corner.
Ashley loved the cake and so did all of the partygoers! I must say, I am quite proud of this one, since it was my first time making this design. Yay!
Happy birthday, Ashley!! :)