Hello, all! I have been away for a bit due to wrapping up the holiday season and going on a mini-vacay with my Betrothed for our anniversary (9 years!)
I recently made two birthday cakes that I would like to share with you. The first one is a zebra coconut cake. I was given free reign to design a coconut cake for an 18-year-old's birthday, so I went with something most teenage girls like (or at least wouldn't mind)-- zebra print! So I started on the coconut cake. I wanted to go with quick and easy so I went for a mix-based recipe.
I mixed the cake according to the package but added 1 1/2 tablespoons of coconut extract and 1 cup of sweetened coconut flakes. Then into two 8" pans they go...
I like to weigh my pans to make sure they are equally distributed. I don't want uneven layers!
Sidenote: I'm getting a new kitchen scale. More on that later...
After the cake has cooled, I filled it with vanilla buttercream and added a little sprinkle of extra coconut.
I iced the cake in more vanilla buttercream and got to work on the stripes. I decided to shoot a tiny video to illustrate how to put on the zebra stripes. But! It ended up upside-down when I went to review it! Yeeeea, I definitely don't know how to shoot or edit video... So if anyone knows how to fix this, I would live to be able to put my first video up! In the meantime, I'll explain how I got my zebra stripes on.
To start, I rolled out black fondant to about 1/8" thick. Then I cut pointy-ended stripes that started in the center of the top of the cake. Then I alternated those with different length skinny triangles on the bottom, making sure the flat side of the triangles met the bottom.
I topped the cake off with a bit more of shredded coconut and numbers made of a mix of milk and white chocolate. The birthday girl loved it, and so did the party-goers! :)
My next cake was for a two-year old's birthday, and he loves Lion King! I was also given free reign for the design of this cake, so I went with a jungle scene with edible images of the characters. (I must say, I can draw certain things, but getting down the exact features of some Disney characters gets quite tricky). I iced the square cake in white then spread teal on the sides to create a gradating sky then I also spread yellow, orange and red on the top to create a sunset. Since I don't have an airbrush machine, I was able to get a similar effect with this method. I added the edible images and vines on the side and the trees to the top, and voila!
This was also a hit at the party, and I was excited to make Caleb's second birthday cake! (his first one was the Baby Mickey smash cake).
In other news, I have been reading Bouchon Bakery by Sebastien Rouxel and it is really inspiring.
I want to try making all of the recipes in it! I like the little stories that are intertwined in it. It makes me want to just up and fly to Paris to eat all the bread and pastries I can! I noticed that the ingredients in the recipes are weighed. It's apparently the best way to measure to ensure consistency and a quality product. Thus, the need to get a new kitchen scale. I like the manual one that I have, and it's served me well, but to tare it is a nightmare. So look out for some fancy recipes coming up. Oui oui!
Feel free to email any news, videos, recipes, or just about anything to mysweetdiversion(at)hotmail(dot)com!
Wednesday, January 16, 2013
Tuesday, December 25, 2012
Review of the Buddy Show, Shortbread Cookies, and Christmas Cheer!
| Yay! My tweet is up there! |
Hello, all! Just wanted to give a quick review of the Buddy show last week in Richmond, VA and share a cookie recipe before I go on a bit of a holiday hiatus.
The show started with Buddy coming through the crowd onto the stage. The only way I could tell where he was was by finding his bright red chef coat. I must say, Buddy Valastro is a little guy. But it's all good--I'm a fellow shortie in the cake world. :) He had a T-shirt gun that he was launching towards the crowd but all the taller people snagged the ones launched in my section.
He began with a little story about Christmas morning at the Valastro house with a cute home video clip and some photos of his family's HUGE Christmas dinner spread. Then he got to decorating a few holiday-themed cakes. Among them were a Santa face made from a heart cake, a fondant-covered gift box (complete with fondant bow), a blue fondant cake with snowflake fondant cut-outs, and a Christmas tree cake the he decorated in under 45 seconds!
In order for an audience member to win each of these cakes, Buddy orchestrated different little contests. I wanted to get selected to win one, but the taller enthusiasts were jumping up and down in front of me :( But it's OK. I still enjoyed myself. Buddy is a really funny guy! I definitely need to snag one of those steamer thingies to shine up my fondant cakes. I'm currently brushing all of my fondant with clear flavor or vodka and that takes a very long time!
Excuse my photos. They were taken from my phone and it was dying, so I was rushing to get some pictures in! I had a great time at the show, and I hope Buddy comes around to Virginia next year, too! Maybe next time I'll get VIP tickets to that I can meet him and take a picture!
This past weekend, my friend threw a tacky sweater thrift gift party, and I decided to make some shortbread cookies to contribute. I honestly think it's an easy and inexpensive way to make scratch-made cookies. The recipe is from Ina Garten and it can be found here. My only modification is this: instead of 1 tsp vanilla extract, I do 1 1/2 tsp vanilla and 1/2 tsp almond extract (or emulsion). It adds a delicious subtle flavor that I am definitely a fan of.
Mix together the softened butter and granulated sugar until just combined.
Then add the flavors. In a separate bowl, sift together the flour and salt.
Mix the dry ingredients into the butter mixture and mix on low until the dough starts to get crumbly-looking.
The recipe says to form all of the dough into one disc on a floured surface. But I like to split it up into two discs to make it a bit easier to work with. I was reading some of the comments on this recipe's page, and a lot of people were saying that the dough just kept falling apart and wouldn't cooperate. All I say to that is have patience. If you smush it together into discs, it will come together! See?
I put those into the fridge for 30 minutes then brought them both out and rolled one disc at a time.
Have patience here, too! It may be crumbly at first, but it will come together and be rollable. Just make sure the rolling pin as well as the surface is generously dusted with flour!
I rolled the dough about 1/4" thick and used star cutters and circle cutters. I made one disc stars and the other circles. I managed to get about 4 dozen this way.
The recipe says to bake 20-25 minutes, but I find that my cookies are golden-brown-edged perfection at about 17 minutes, so check your cookies periodically!
They taste quite amazing plain, but I drizzled mine with some good old-fashioned confectioner's sugar icing. Yum! Roger snagged one before we left for the party.
And while we're on the tacky sweaters, I must share mine. We both had fun making our own sweaters!
And with that, I wish everyone a very Merry Christmas and a very Happy New Year! I will be back in January with a couple of birthday cakes I have lined. I hope for much prosperity for everyone in the coming year. Yay for 2013!!
Monday, December 17, 2012
Late Post : Double Birthday Week 2012 and a Red Bottom Shoe!
As you may already know, my mother and I my brother have birthdays 3 days apart. I do my best to make them separate cakes, especially when Thanksgiving doesn't get in the way. This year, I decided to make my mom the cake that I actually wanted to make her last year-- a purse! My mom looooves purses and shoes, so I designed a purse using the colors of a bag that she currently carries-- white and taupe! I was kind of winging the design as I went along. It was really fun to put together a purse. I imagine it's similar to making a real purse out of cloth and leather.
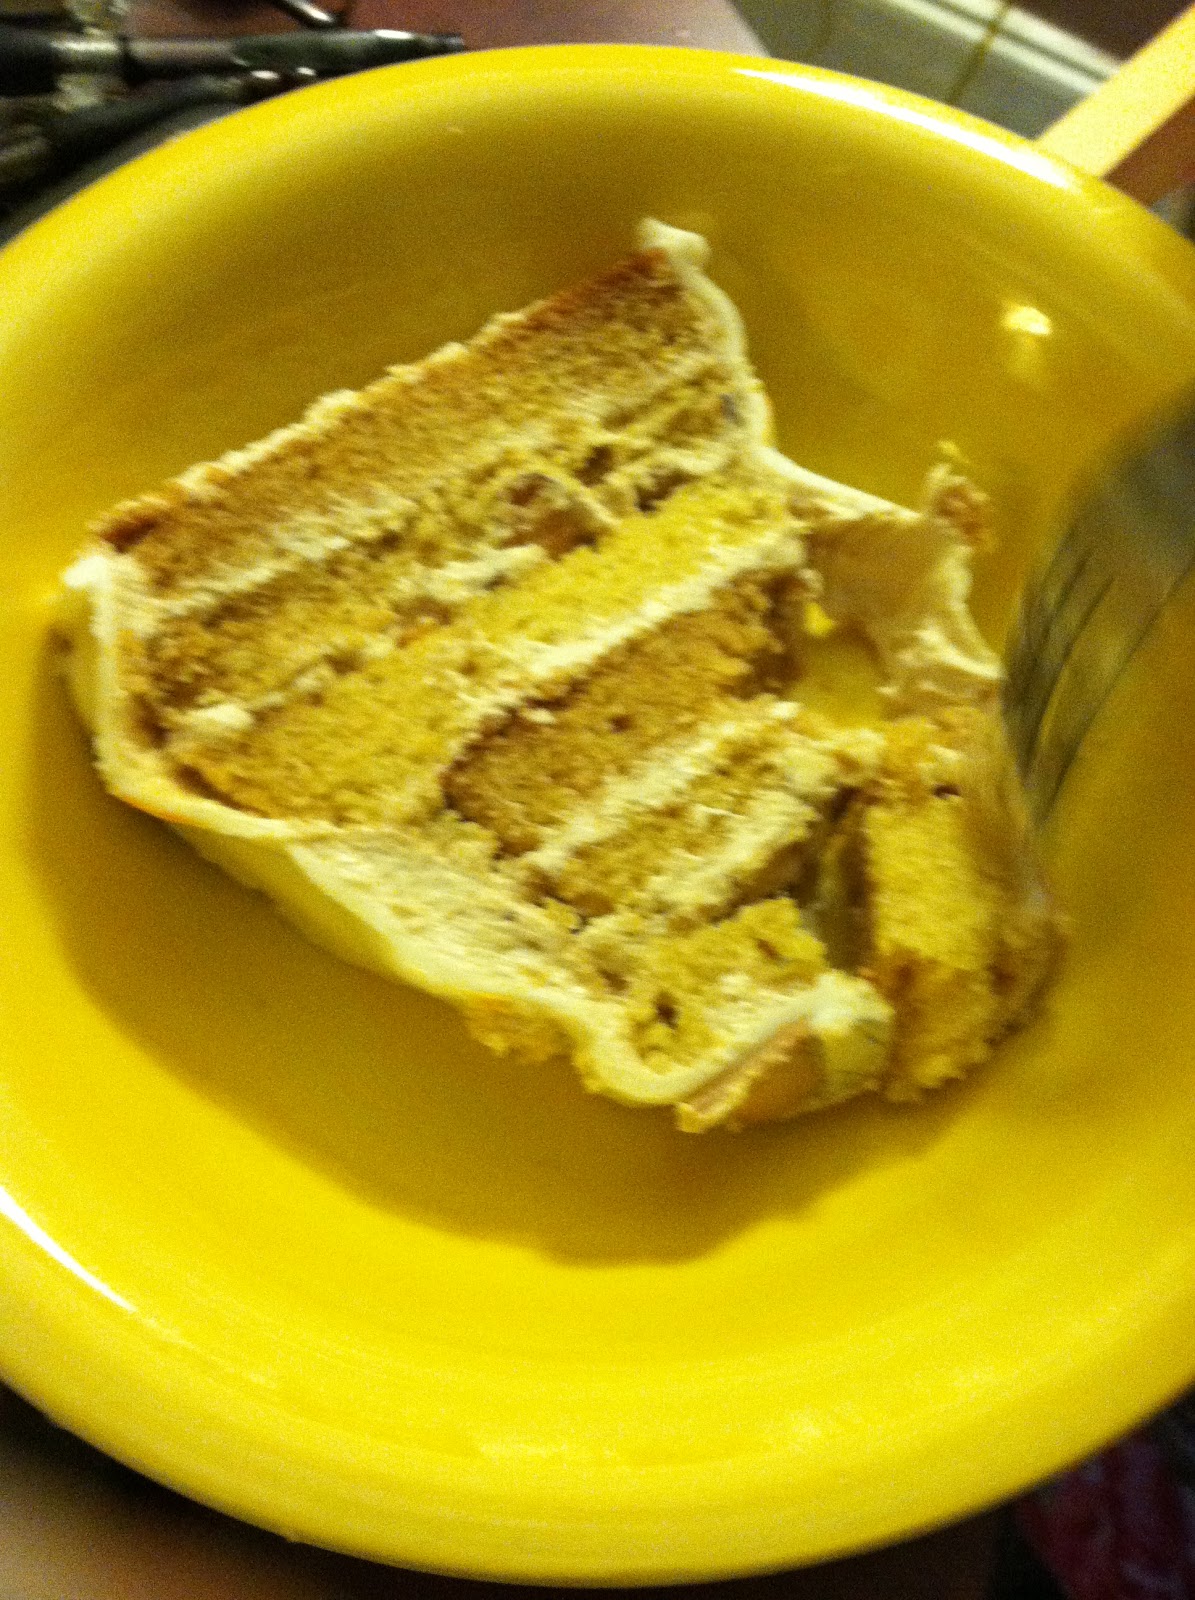
I made a yellow cake from scratch (I'll post the recipe once it's been fine-tuned-- it was good, but I want to make some changes). It was baked in an 8" square pan. Once the cake was cooled, I cut the cake at about 2/3 then stacked the other third on top. My mom requested caramel icing, so I just had to oblige. I used that to fill the cake and also filled the cake with candied slivered almonds. Yum!
I carved the cake down and made a purse shape. Then I base-iced with the same icing. I let the cake chill for about half and hour, then I covered the cake with 2 sheets of white fondant. Sidenote: I liked making this purse because I didn't have to hide the seams-- I could play off of them. My Wilton quilting tool definitely came in handy for this one to add finishing touches and details. I added an "R" for Regina and voila!
My mom loved it! Perhaps next year, I'll make her a shoe...
As for my brother, I knew I just had to do something music-related. But what? Well, my bestie had the idea to make him a turntable. He doesn't necessarily DJ, but it's something prominent in the music world (he's a music producer), so he would be able to appreciate it-- which he did!
This cake was a strawberry cake with cream cheese icing filling (his favorite!) and vanilla buttercream on the outside. I also baked it in an 8" square pan, but no carving this time. I tinted some grey icing (however, it came out a bit purple-- anyone have a solution to this?) and covered the square cake. Then I cut out a fondant record, shaped a knob as well as the needle, and cut out some smaller circles for buttons.
I made up the GD-32 model-- it's my brother's initials and his age! He loved his cake inside and out. :) What to do for his 33rd next year.. Hmm...
Along with these cakes, I had an order to make for a new client. It was a 21st birthday cake that featured a red-bottomed shoe. I had to do a bit of research to figure out exactly what that was, and I learned that I had to jump up a couple of tax brackets in order to ever buy one! They are mostly very high heeled pumps with red soles, and the most basic one I could find was black patent leather.
My client had ordered a half sheet cake, so I didn't want to take away from the number of servings by carving a huge shoe shape. Instead, I carved the heel and sole out of the side of the cake to show the actual red bottom.
My client loved it, and I was happy that I figured out a cute, creative way to incorporate a semi- 3D shoe into a sheet cake!
I made a yellow cake from scratch (I'll post the recipe once it's been fine-tuned-- it was good, but I want to make some changes). It was baked in an 8" square pan. Once the cake was cooled, I cut the cake at about 2/3 then stacked the other third on top. My mom requested caramel icing, so I just had to oblige. I used that to fill the cake and also filled the cake with candied slivered almonds. Yum!
I carved the cake down and made a purse shape. Then I base-iced with the same icing. I let the cake chill for about half and hour, then I covered the cake with 2 sheets of white fondant. Sidenote: I liked making this purse because I didn't have to hide the seams-- I could play off of them. My Wilton quilting tool definitely came in handy for this one to add finishing touches and details. I added an "R" for Regina and voila!
My mom loved it! Perhaps next year, I'll make her a shoe...
As for my brother, I knew I just had to do something music-related. But what? Well, my bestie had the idea to make him a turntable. He doesn't necessarily DJ, but it's something prominent in the music world (he's a music producer), so he would be able to appreciate it-- which he did!
This cake was a strawberry cake with cream cheese icing filling (his favorite!) and vanilla buttercream on the outside. I also baked it in an 8" square pan, but no carving this time. I tinted some grey icing (however, it came out a bit purple-- anyone have a solution to this?) and covered the square cake. Then I cut out a fondant record, shaped a knob as well as the needle, and cut out some smaller circles for buttons.
I made up the GD-32 model-- it's my brother's initials and his age! He loved his cake inside and out. :) What to do for his 33rd next year.. Hmm...
Along with these cakes, I had an order to make for a new client. It was a 21st birthday cake that featured a red-bottomed shoe. I had to do a bit of research to figure out exactly what that was, and I learned that I had to jump up a couple of tax brackets in order to ever buy one! They are mostly very high heeled pumps with red soles, and the most basic one I could find was black patent leather.
My client had ordered a half sheet cake, so I didn't want to take away from the number of servings by carving a huge shoe shape. Instead, I carved the heel and sole out of the side of the cake to show the actual red bottom.
My client loved it, and I was happy that I figured out a cute, creative way to incorporate a semi- 3D shoe into a sheet cake!
Wednesday, November 14, 2012
Late Post : Carrot Cupcakes, Halloween Festivites, and My Betrothed's Birthday
The weekend before Halloween, I threw a Halloween Monster Mash/ Birthday Bash (for Roger's birthday). It was much fun, the food was amazing, and the costumes were awesome! I DIYed my devil costume, and managed to look quite snazzy-- except my corset was KILLING me. I think it was actually shifting my organs around! Eek! My Betrothed was an indie hipster (complete with finger mustache!) Thrifting for his clothes was a lot of hard work!
Anyhoo, for the party, I made carrot cupcakes, which were requested by my Betrothed, the birthday boy! I didn't really like how mixes turned out, so I went with a scratch carrot cake recipe. I obtained it from Taste of Home and the recipe can be found here. It came out tasty, but I wanted it more moist, so I may keep searching for other recipes or try to tweak this one in the future.
I topped my cupcakes with my cream cheese buttercream and Halloween sprinkles and voila!
The party-goers loved them-- and so did my Betrothed. :)
The next day, I made his birthday cake, which was The Eye of Sauron from The Lord of the Rings. He is a huge Tolkien fan-- so much so, that I'm pretty sure he's already getting in line for The Hobbit in theaters next month. I made my new trusty chocolate cake recipe and filled it with Dr. Oetker chocolate mousse. It was quite delicious and very moist. It was a hit with Roger and his family. :)
| The writing is "Happy Birthday, Roger" in Elvish, I think |
| Slay that Eye! grrr |
Ah, yes, this is my 100th post!!! It seemed like just yesterday that I started rambling about delicious sweet goodies. 2 years and 100 posts later, I am very proud that I've actually kept this up! (she said after a long hiatus)
Monday, October 22, 2012
Gnome Cake
This has been a busy month and the last week of it is only going to get busier! I'm co-hosting a Halloween party that will also serve as my Betrothed's birthday party this weekend, which means I have lots of planning and baked goodies ahead.
But for now, I must share this cute little gnome cake that I made a little bit ago. I never thought I'd ever say that, but I'm definitely glad I took the challenge. The cake was for my very tall, very good friend, Joe. He loves to call out other people's height challenges (for example: he calls me "Shortness"). But it's all out of love, so I let it slide (for now mwahahaha). Rather, he was ordering it for his mom.
I made a 6" yellow cake as the tree stump. I made it from scratch, but I'm not sure about revealing the recipe just yet because I may have to shop around for a better recipe. If anyone has any recipe suggestions for yellow cake, I am totally open to trying them!
So anyhoo, I made a half batch of rice treats and molded a basic gnome shape. I attached the different parts with a bit of icing. Then I ate the rest (hey I didn't want to waste it!)
Then I added a thin layer of buttercream to the outside, and I covered each part from the bottom up. After I got the basic parts covered, I went back and added hair, arms and an apron as well as a pair of glasses made from thick fondant circles and vermicelli.
I was happy with how it turned out! I think the gnome challenge was successfully completed!
Luckily Joe's mom has an awesome sense of humor, so she liked the cake. :)
But for now, I must share this cute little gnome cake that I made a little bit ago. I never thought I'd ever say that, but I'm definitely glad I took the challenge. The cake was for my very tall, very good friend, Joe. He loves to call out other people's height challenges (for example: he calls me "Shortness"). But it's all out of love, so I let it slide (for now mwahahaha). Rather, he was ordering it for his mom.
I made a 6" yellow cake as the tree stump. I made it from scratch, but I'm not sure about revealing the recipe just yet because I may have to shop around for a better recipe. If anyone has any recipe suggestions for yellow cake, I am totally open to trying them!
So anyhoo, I made a half batch of rice treats and molded a basic gnome shape. I attached the different parts with a bit of icing. Then I ate the rest (hey I didn't want to waste it!)
Then I added a thin layer of buttercream to the outside, and I covered each part from the bottom up. After I got the basic parts covered, I went back and added hair, arms and an apron as well as a pair of glasses made from thick fondant circles and vermicelli.
I was happy with how it turned out! I think the gnome challenge was successfully completed!
Luckily Joe's mom has an awesome sense of humor, so she liked the cake. :)
Tuesday, October 2, 2012
Once Upon A Time Cake!
Evening, all!
So I am a new fan of the ABC series Once Upon A Time. It has all of the classic fairy tale characters-- plus a twist. I love it! So when I was commissioned to make a cake with this theme, I was all for it!
I started with my now- trusty chocolate cake recipe (the cake was to be a 6" cake, so I used the rest of the batter to make 24 yummy mini cupcakes). Then I filled the layers with my trusty cream cheese buttercream recipe. I planned on using an edible image, so I iced the cake in regular white buttercream.
After a bit of thought, I went with a few key symbols from the show: The evil queen's mirror, her bowl of apples, Snow White's poisoned apple (complete with a little bite), the Mad Hatter's hat, and the fairy tale book that started it all called Once Upon A Time. I added some black swirls on the side (which my friend pointed out looked like the mayor's office), and voila!
I must add that my scrollwork has greatly improved. I feel like I've added much Caking XP to my repertoire-- perhaps enough to gain a level. :)
Side note: I'm, super excited about the second season that premiered this past Sunday. Can't wait to see how the story unfolds!
Oh, and look out for some delicious fall flavors soon! ;)
So I am a new fan of the ABC series Once Upon A Time. It has all of the classic fairy tale characters-- plus a twist. I love it! So when I was commissioned to make a cake with this theme, I was all for it!
I started with my now- trusty chocolate cake recipe (the cake was to be a 6" cake, so I used the rest of the batter to make 24 yummy mini cupcakes). Then I filled the layers with my trusty cream cheese buttercream recipe. I planned on using an edible image, so I iced the cake in regular white buttercream.
After a bit of thought, I went with a few key symbols from the show: The evil queen's mirror, her bowl of apples, Snow White's poisoned apple (complete with a little bite), the Mad Hatter's hat, and the fairy tale book that started it all called Once Upon A Time. I added some black swirls on the side (which my friend pointed out looked like the mayor's office), and voila!
I must add that my scrollwork has greatly improved. I feel like I've added much Caking XP to my repertoire-- perhaps enough to gain a level. :)
Side note: I'm, super excited about the second season that premiered this past Sunday. Can't wait to see how the story unfolds!
Oh, and look out for some delicious fall flavors soon! ;)
Wednesday, September 26, 2012
Made - from - scratch Chocolate Cheetah Cake
Hello, all! I've been on a bit of a hiatus as of late, but hopefully, I'll have a few more projects trickling in as the season goes on (it is that pumpkin time of year, after all!)
Today is my good friend, Leigh Ann's birthday. We had a celebration for her over the past weekend, and I'm very proud to share this cake for two reasons: 1) I made a successful, super-moist chocolate cake from scratch and 2) I made my first cheetah print cake!
The recipe is from Taste of Home and can be found here. The recipe is as follows:
2) Sift together the dry ingredients into your mixer's bowl and turn on low for a few seconds to combine. In a separate bowl, mix together the coffee, milk, and oil.
3) Add the coffee mixture into the dry mixture and mix at medium for 1 minute. Then add eggs and vanilla. Beat 2 more minutes. **The batter will be super thin-- just trust it!**
4) Pour batter into two 8" pans (the batter fits perfectly into these-- no boil over!) and bake for 25-30 minutes.
5) Cool cakes for 10 minutes in pans, then turn them out onto a cooling rack.
See? Two perfectly moist cakes. Yum!
To decorate, I mixed some golden yellow vanilla buttercream and frosted the cake. Then I pinched together different sized blobs of black and brown fondants to create cheetah spots.
I made sure that the black fondant peeked out around the edge of each spot.
Then I repeated until the whole cake was covered in spots.
Leigh Ann is a huge fan of pink, so of course I had to add some pink elements. I decided to add pink roses at the top and some pink white chocolate numbers.
Here's a bit of detail on the top...
Leigh Ann liked the cake and she was totally taken by surprise because she didn't know about it! :) And I must say, this chocolate cake recipe is definitely a keeper!
Happy birthday, Leigh Ann!!
Today is my good friend, Leigh Ann's birthday. We had a celebration for her over the past weekend, and I'm very proud to share this cake for two reasons: 1) I made a successful, super-moist chocolate cake from scratch and 2) I made my first cheetah print cake!
The recipe is from Taste of Home and can be found here. The recipe is as follows:
- 2 c AP Flour
- 1 tsp salt
- 1 tsp baking powder
- 2 tsp baking soda (don't get those two mixed up, like I usually do!)
- 3/4 c baking cocoa
- 2 c sugar
- 1 c canola oil (not a healthy cake, but moist!)
- 1 c brewed coffee
- 1 c milk
- 2 eggs
- 1 tsp vanilla extract
2) Sift together the dry ingredients into your mixer's bowl and turn on low for a few seconds to combine. In a separate bowl, mix together the coffee, milk, and oil.
3) Add the coffee mixture into the dry mixture and mix at medium for 1 minute. Then add eggs and vanilla. Beat 2 more minutes. **The batter will be super thin-- just trust it!**
4) Pour batter into two 8" pans (the batter fits perfectly into these-- no boil over!) and bake for 25-30 minutes.
5) Cool cakes for 10 minutes in pans, then turn them out onto a cooling rack.
See? Two perfectly moist cakes. Yum!
To decorate, I mixed some golden yellow vanilla buttercream and frosted the cake. Then I pinched together different sized blobs of black and brown fondants to create cheetah spots.
I made sure that the black fondant peeked out around the edge of each spot.
Then I repeated until the whole cake was covered in spots.
Leigh Ann is a huge fan of pink, so of course I had to add some pink elements. I decided to add pink roses at the top and some pink white chocolate numbers.
Here's a bit of detail on the top...
Leigh Ann liked the cake and she was totally taken by surprise because she didn't know about it! :) And I must say, this chocolate cake recipe is definitely a keeper!
Happy birthday, Leigh Ann!!
Subscribe to:
Posts (Atom)